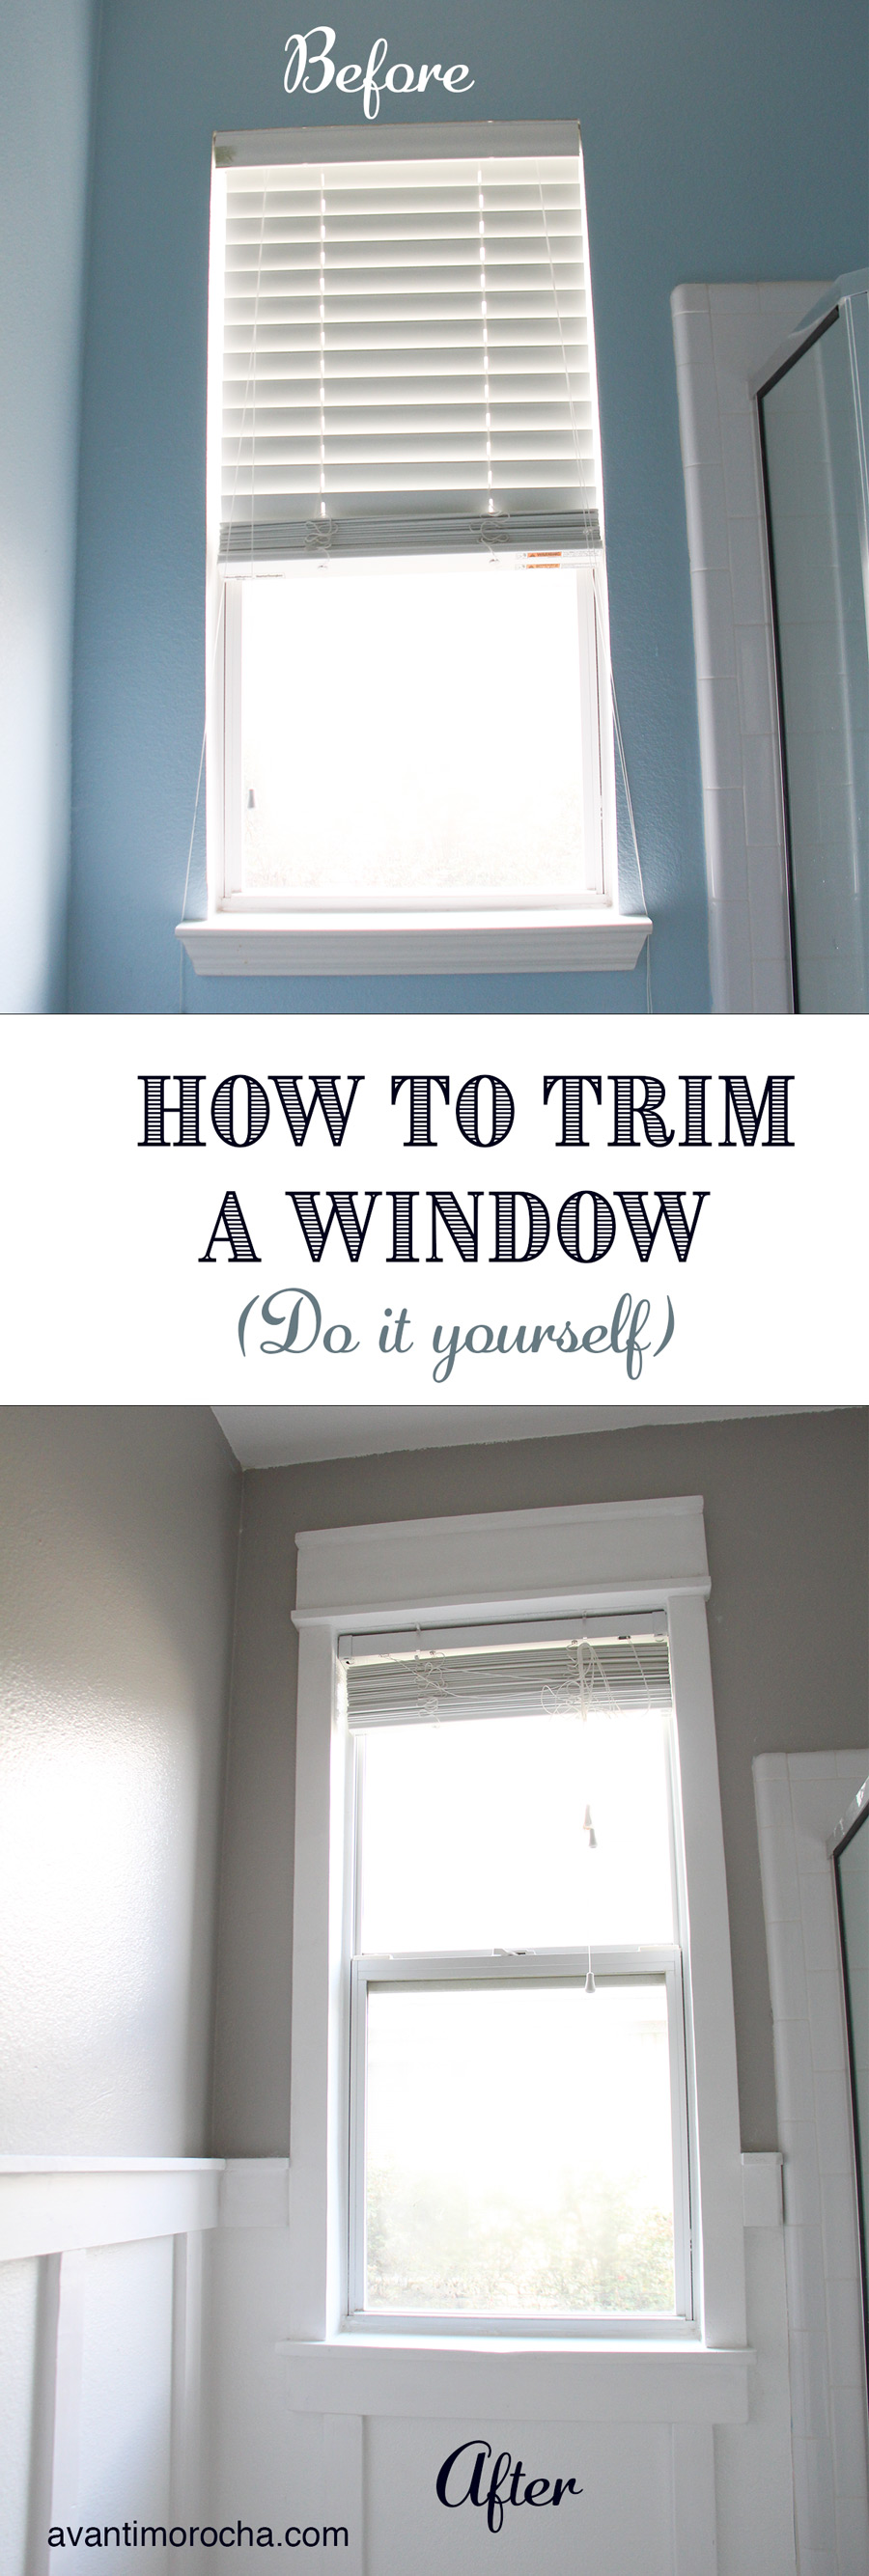
This is the first post in the series – guest bathroom makeover. I decided to start by showing you how we trimmed the bathroom window. It’s an easy project and I simply love how it looks.
I saw this project on Pinterest and I knew it was what I wanted to do; the truth is I want to trim all of the windows in my house but I decided to experiment with the bathroom first.
Decidí que este sería el primer post de la renovación de mi baño, porque el proyecto de enmarcar la ventana me pareció el mas sencillo de las proyecto que estamos realizando en el baño de invitados. Vi este proyecto hace tiempo en Pinterest y sabía que esto era lo que quería hacer en mi casa, la verdad es que quiero enmarcar todas la ventanas, pero decidí primero probar con la ventana del baño.
[one_half padding=”0 5px 0 0″]Materials
- 1 – 1X3-8ft
- 1 – 1X2-8ft
- 1 – 1X6-8ft
- 1 – 1×4-8f
- Oil base primer
- White semi-gloss paint
- 1 tube caulking
Tools
- Claw hammer
- Pry-bar
- Tape measure
- Jab saw
- Compound miter saw
[/one_half]
[one_half_last padding=”0 0 0 5px”]Materiales
- 1 – 1X3-8ft
- 1 – 1X2-8ft
- 1 – 1X6-8ft
- 1 – 1×4-8ft
- Primer a base de aceite
- Pintura blanca semi-gloss
- 1 tubo de caulking
Herramientas
- Martillo
- Barra de palanca
- Cinta de medida
- Sierra de Jab
- Sierra Ingletadora
[/one_half_last]
- If you have an existing apron and stool, you’ll need to remove them with a hammer, jab saw and pry-bar(cats paw).
- Remuevan el marco actual que tengan en su ventana. No estoy muy segura de los nombres en español de estas partes pero pueden ver la imagen para ver a que me refiero. Una imagen vale mas que mil palabras 🙂


- Do any repairs before trimming the window. Kevin added some caulking to ensure the window was sealed
- Arregla cualquier daño que hayas hecho a este sector al sacar el marco, lo único que Kevin hizo fue agregar un poco de caulking al sector que está mas cercano al vidrio para asegurarse que la ventana esté sellada.


- Arregla cualquier daño que hayas hecho a este sector al sacar el marco, lo único que Kevin hizo fue agregar un poco de caulking al sector que está mas cercano al vidrio para asegurarse que la ventana esté sellada.
- Make all of the cuts you’ll need for your window size.
- Has todos los cortes basada en las medidas de tu ventana.
- Prime and paint all of the pieces before placing them around the window. We use an oil base primer and white semi-gloss paint.
- Pinta todas las piezas de madera antes de colocarlas. Yo use un primer a base de aceite y pintura blanca semi-gloss.

- Pinta todas las piezas de madera antes de colocarlas. Yo use un primer a base de aceite y pintura blanca semi-gloss.
- Use a brad gun to place the trim pieces around the window.
- Use a pistola de clavos para colocar las piezas en la ventana.
- Caulk around all trim pieces.
- Coloca caulking alrededor del perímetro del nuevo marco y en la uniones.
- Cover all of the nail holes with wood filler and add a coat of paint to the front side.
- Rellena todo los huecos dejados por la pistola de clavos con masilla para madera. Dale una capa mas de pintura en la parte de adelante.
 I hope you like this project as much as I do and if you make it please share a pic with me I’d love to see how it comes out.
Espero que este DIY les haya gustado y si lo hacen no se olviden de compartir una foto conmigo en mi redes sociales.